Summary Of Inventor
Inventor is a software used for 2D and 3D editing. Using the program, people can construct almost anything they want to. Inventor includes options to create one object called a "part" or an organization of many parts called an "assembly". In IDEA, we mostly use inventor to construct 3D models to be printed by our 3D printers. Our first project using Inventor are our 3D widgets.
Widget Sketches
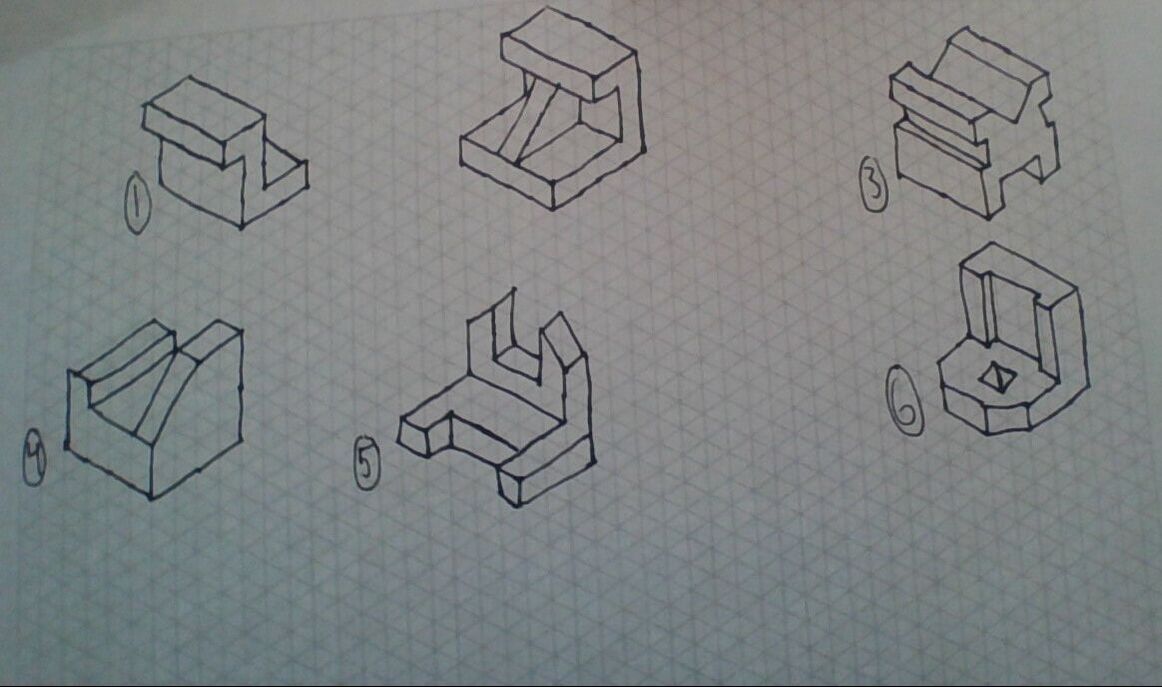
Finished Widgets
Widgets 1 and 3-6 were done using onshape while widget 2 was constructed with inventor.
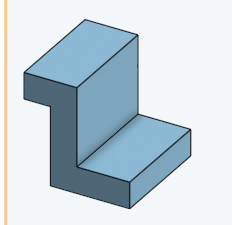
Widget 1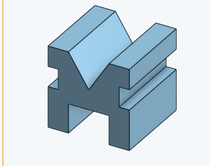
Widget 3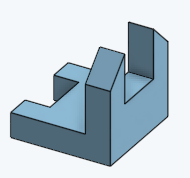
Widget 5 |
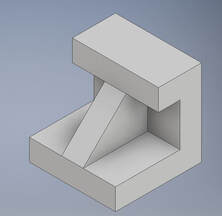
Widget 2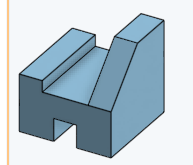
Widget 4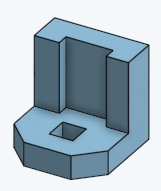
Widget 6 |
Step-By-Step Instructions
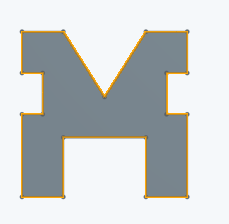
First sketch a similar shape as in the paper sketch on the front plane. No need to be perfect, the next step will fix that.
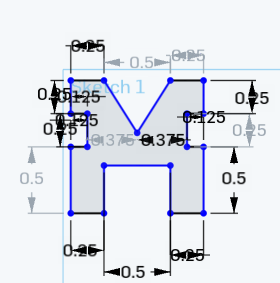
Next, dimension each element of your sketch. In this case each triangle on the paper equals 1/4 in. so multiply 0.25 in. by however many triangles there are in that part.

Next extrude your 2D sketch to make it 3D. In this case it is 4 triangles deep so I will extrude by 0.25 X 4 = 1 in. You are now finished!
3D Printing using MakerBot
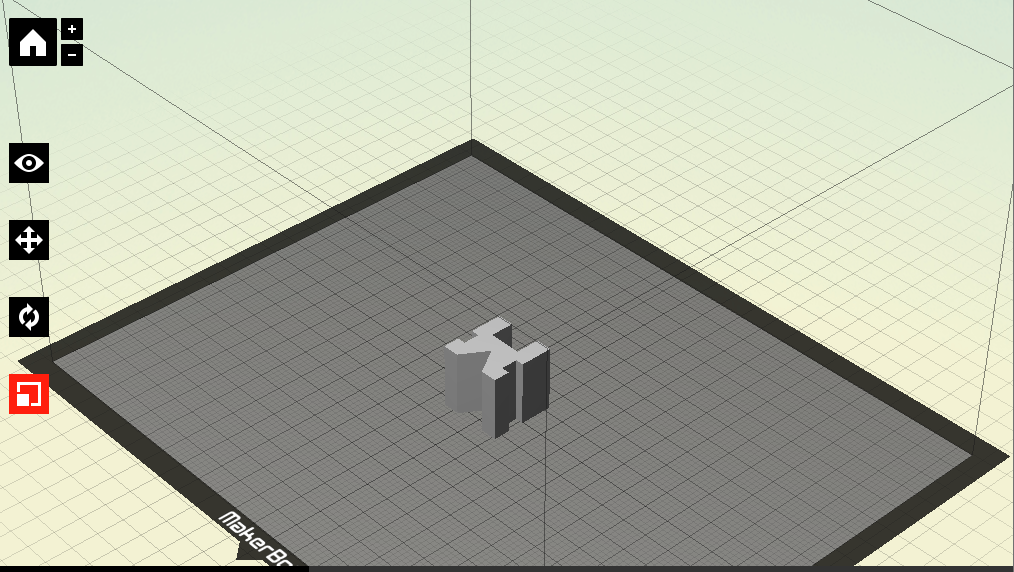
Here, I am adding the .STL file I downloaded from Onshape to MakerBot. I adjusted my file so the most flat surfaces are on the base. To make sure that there is no space between my figure and the base I chose the lay flat option.
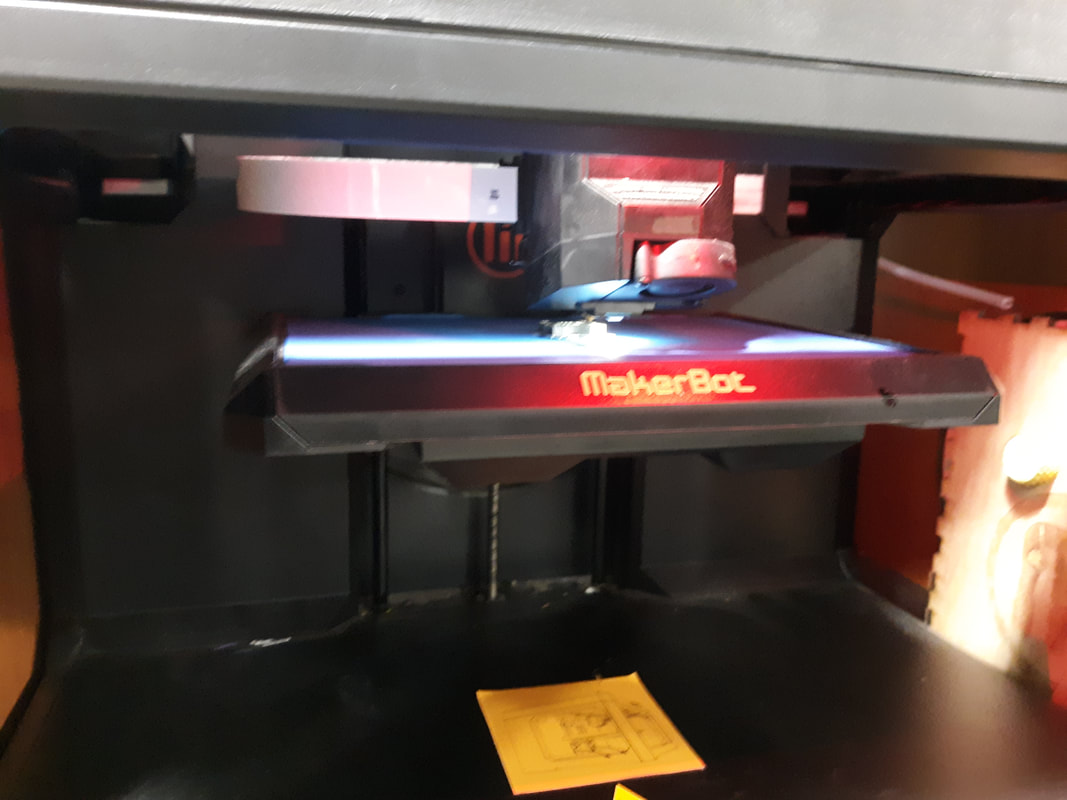
This is my figure in the progress of printing. The raft part which will be removed later is finished and my figure is partly built. (blurry because of moving printer)
What I learned
During this project I learned many things, including how to use Inventor and Onshape, Uploading and preparing a file in MakerBot and 3D printing protocol. In inventor and Onshape I used the sketching tool, extruder tool and dimension tool to produce my figure. I then learned how to export my figure as an STL file and import that into MakerBot. In MakerBot I leraned how to rotate my figure to lay flat and then what settings to use for 3D printing now and in the future.
